

Air Oil Separator Filter Replacement: When to Replace, How to Do It and What to Use
Air oil separator filter replacement done at the wrong time — or with the wrong element — is one of the leading causes of preventable screw compressor failure in industrial plants. Replace the element too late and a saturated separator drives oil carryover into your compressed air system, contaminates dryers and pneumatic equipment, and forces the compressor to run hotter until thermal overload shuts it down. Replace it with an incompatible air oil separator filter element and you risk a performance mismatch that shortens both element and compressor life.
This guide covers the complete picture: how the element works, exactly when to replace it, a step-by-step replacement procedure, and how to select the right element for your compressor model and lubricant.
What Is an Air Oil Separator Filter Element?
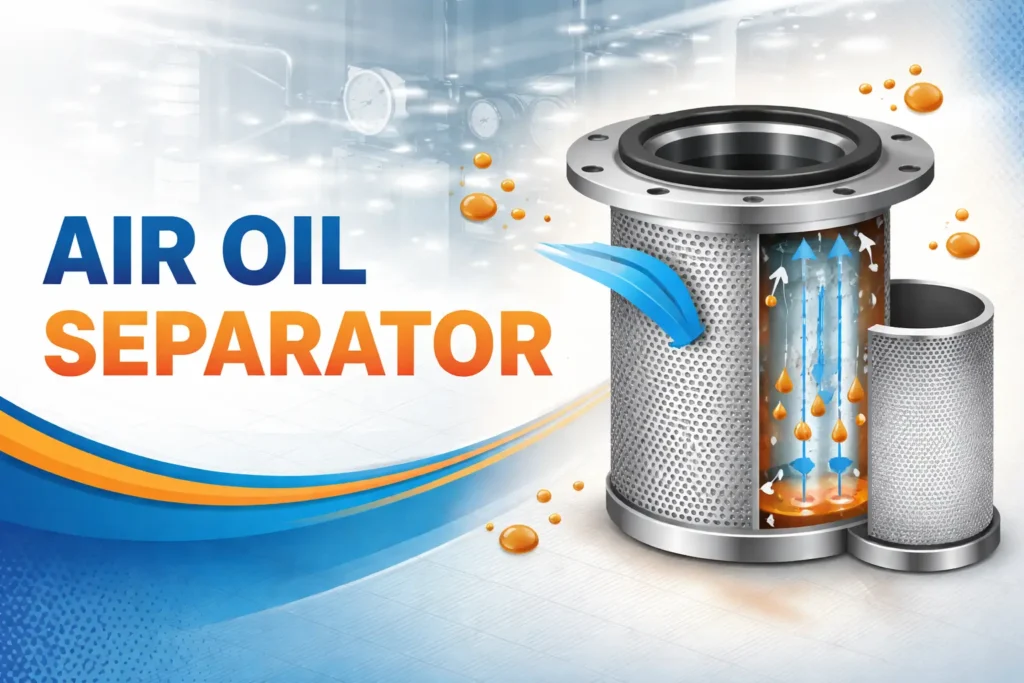
The air oil separator filter element is the consumable filtration core inside your compressor’s separator vessel — the tank positioned between the compression stage and the air outlet. It is constructed from coalescing fibre media, typically borosilicate glass fibre or synthetic fibre, wound or pleated around a central support tube.
Its function is to capture oil aerosol droplets (0.1–1 micron in size) carried in the hot compressed air discharge, coalesce those droplets into larger ones, and drain them back to the compressor sump through the scavenge return line. A correctly specified element in good condition delivers outlet oil content of 2–5 ppm or below. Once the media saturates, oil carryover rises sharply and the screw compressor oil separator filter can no longer protect downstream equipment or the environment.
How Often Should You Replace an Oil Separator Filter?
Replacement frequency depends on two factors: your manufacturer’s scheduled interval and the real-time condition of the element itself. Both matter — and condition-based signals always take priority.
Manufacturer-recommended intervals
Most rotary screw compressor manufacturers specify oil separator element replacement at the following intervals:
- Mineral oil systems: every 4,000 operating hours or 12 months — whichever comes first
- Synthetic lubricant systems: every 6,000–8,000 operating hours or 12 months — whichever comes first
- Low-utilisation compressors (below 2,000 hours per year): replace annually regardless of hours, as media degrades over time even when the compressor runs infrequently
Always cross-reference your specific compressor manufacturer’s service manual — some models specify shorter intervals based on operating environment (high dust, high humidity, elevated inlet temperature).
Condition-based replacement triggers
These are immediate compressor oil separator filter change indicators. Act on any one of them without waiting for the scheduled hour:
- Differential pressure (ΔP) across the separator exceeds 0.8–1.0 bar (clean baseline is 0.2–0.5 bar)
- Visible oil mist, wet filters, or oily residue at air outlets downstream of the separator
- Oil consumption has increased without any visible external leak from the compressor
- Compressor high-temperature alarm activating more frequently than normal
- Oil analysis results show abnormal particulate contamination levels
If you are seeing one or more of these signs alongside approaching service hours, do not defer — replace the element immediately.
Step-by-Step: How to Replace a Screw Compressor Oil Separator Filter
Before you begin: Consult your compressor manufacturer’s service manual for model-specific torque values, tool requirements, and safety precautions. Estimated time: 45–90 minutes.
Step 1 — Shut down and isolate
Switch off the compressor and allow it to cool for at least 30 minutes. Isolate the electrical supply using your site lock-out/tag-out (LOTO) procedure. Close the main compressed air delivery valve to prevent backflow from the downstream system.
Step 2 — Depressurise the separator vessel
Confirm the system pressure gauge reads zero bar before opening any connections. Use the manual blow-down valve if fitted. Never open the separator vessel under pressure — this is the most critical safety step in the entire procedure.
Step 3 — Drain the compressor oil
Drain the oil sump to reduce spillage during separator disassembly. Position a drain tray beneath the separator vessel. Disconnect the scavenge return line — the small-bore tube that drains coalesced oil from the base of the air oil separator filter element back to the sump. Note the scavenge tube routing for reassembly.
Step 4 — Remove the separator vessel cover
Unscrew the separator tank top cover or end cap using the correct spanner. Record or mark the cover’s orientation before removal. Note your service manual’s torque specification — this is needed for reassembly and overtightening is a common cause of seal deformation.
Step 5 — Extract the old element
Lift the used oil separator element replacement out of the vessel carefully. Inspect the separator vessel interior for sludge, varnish deposits, or debris. Wipe the vessel clean with a lint-free cloth before installing the new element — contamination left inside the vessel will immediately compromise the new element’s efficiency.
Step 6 — Install the new element
Lower the new element into the vessel, confirming the correct orientation and that the scavenge port at the base aligns precisely with the scavenge tube connection. Lightly coat the top seal or O-ring with clean compressor oil to ensure an even seat and prevent tearing on closure.
Step 7 — Reassemble and refill
Refit the separator vessel cover to the manufacturer’s torque specification. Reconnect the scavenge return line securely. Top up the compressor oil to the correct level indicated on the sight glass, using the lubricant grade specified for your compressor model.
Step 8 — Commission and verify Restore the electrical supply, start the compressor, and allow it to reach normal operating temperature. Check all connection points for oil leaks. Verify the gauge returns to its clean baseline (0.2–0.5 bar). Log the replacement date, compressor hours, and element part number in your service record.
What to Use: Choosing the Right Air Oil Separator Filter Element
The air oil separator filter element must be matched to three things: your compressor model, your lubricant type, and your operating pressure.
Lubricant compatibility Borosilicate glass fibre media is standard for mineral oil and most synthetic lubricants. Polyester or other synthetic fibre media is required for aggressive fluids where glass fibre may degrade. Check your compressor manufacturer’s lubricant and element compatibility documentation before ordering.
OEM vs quality-compatible elements OEM elements guarantee dimensional fit, media specification, and pressure rating as tested by the compressor manufacturer. Quality-compatible elements from established industrial filter manufacturers — verified against OEM dimensions and coalescing efficiency to ISO 12500 — are a cost-effective alternative for budget-conscious maintenance teams, provided the supplier issues a written compatibility statement.
Key specifications to confirm before ordering a screw compressor oil separator filter
- Element outer diameter and inner diameter (mm)
- Element height (mm)
- Scavenge port position and internal diameter
- Rated working pressure (bar g)
- Lubricant compatibility: mineral / synthetic / food-grade PAO